Hey everyone! Are you looking for a fun DIY outdoor Ghost Decoration? Do you also have so many plastic grocery bags that you don't know what to do with them all? Well, don't stress over it anymore! Today I'm going to show you how to make outdoor ghost decorations using recycled grocery bags!
Before we begin, I have to admit that this is my first tutorial EVER, so I apologize ahead of time if I do a terrible job! I tried to take a picture of all materials needed before I began, but as I went along, I realized that I'd left out a few minor items. Scissors, basic needle and thread and pins...I think that's all I left out. And, here we go...
This is what your final ghost will look like! So cute!
You will Need:
1. Scissors
2. Basic needle and thread
3. Pins
4. Plastic spider rings
5. Hot glue gun
6. Two pieces of yarn
7. Chalk
8. 1/4 yard orange mesh
9. 1/4 yard orange tulle (optional)
10. 1/4 yard white tulle
11. 1/2 yard of Utility Fabric (found in larger fabric
stores such as JoAnne's)
12. Black and white acrylic paint
13. White spray paint
14. Sewing machine
15. A whole hell of a lot of plastic bags!
Using your chalk, draw the top half of a ghost shape onto your utility fabric. For this tutorial, I used a sharpy so that you can see it better. As you can also see, I made a mistake and that's why there is a line with an "x" on it :) Be sure to draw the ghost so that the bottom runs along the straight edge of the fabric. Also, make sure that the neck is wide enough that you will be able to put your hand and wrist through it to stuff the head, once it is turned right side out.
Next, cut out the ghost shape, leaving a 1/4" outside your drawn line. Then cut another piece in the same shape. There will be scraps of fabric after you have cut out your ghost. Don't throw them away! Cut those scraps into elongated triangles as seen in the picture. Also cut some elongated triangles out of your white tulle. The tulle will give it a more ethereal look. Set the triangles aside for now.
Before turning your ghost inside out, be sure to cut little triangles on the inverted curves as seen in the picture above.
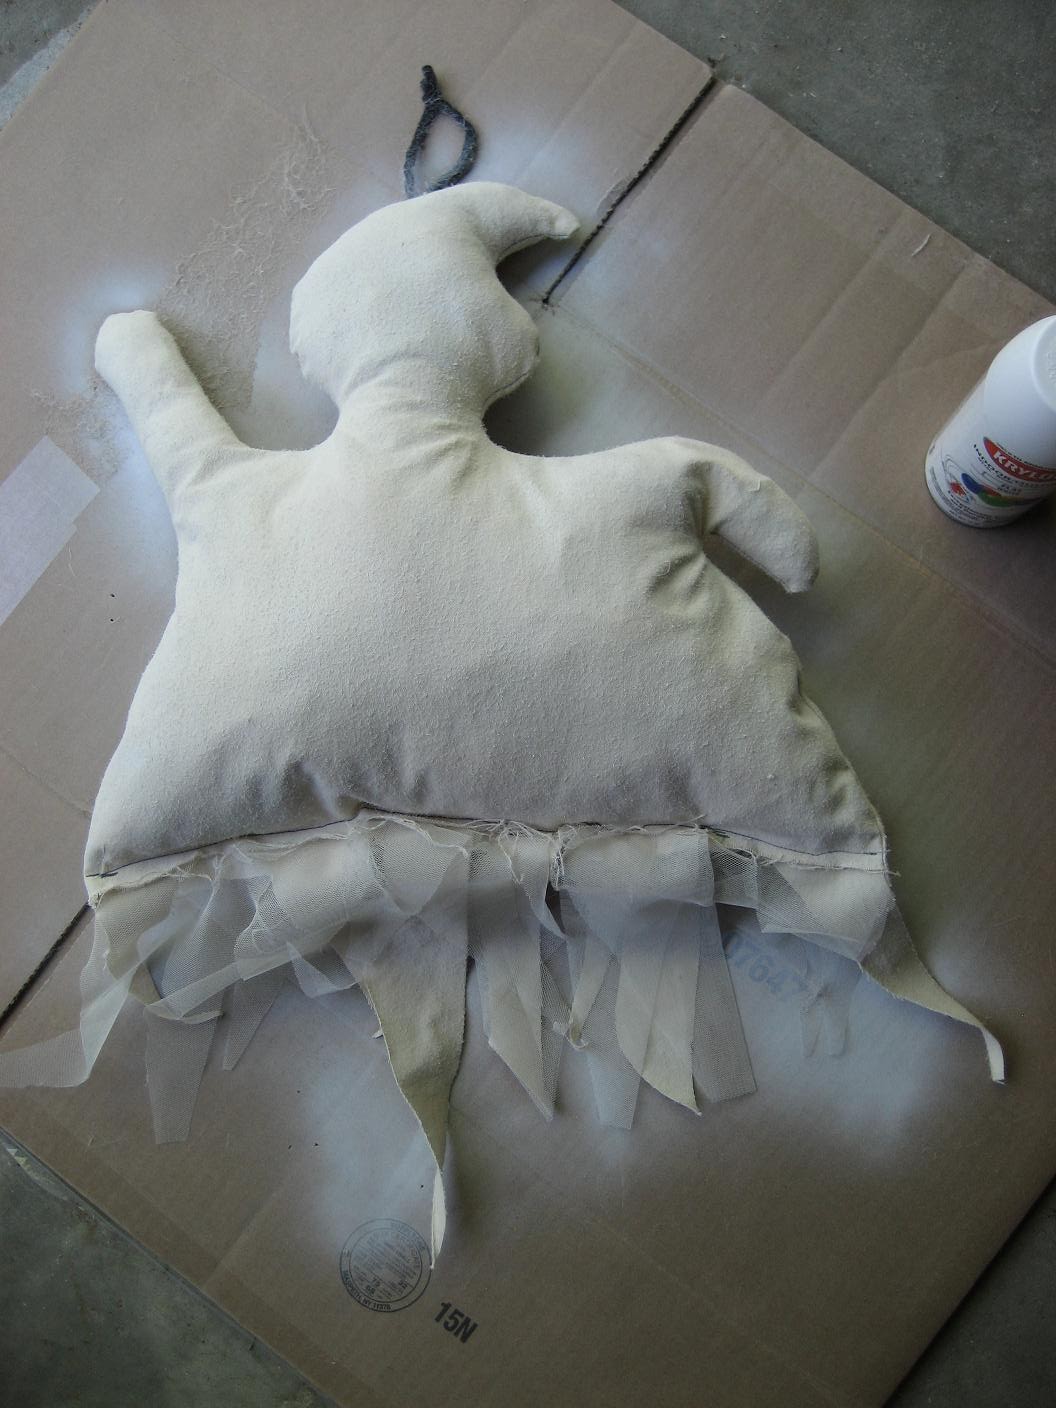
Next, stuff the head and arms firmly with plastic bags. Then stuff the body with more plastic bags. After you have stuffed the body, insert your triangles into the bottom of the ghost and pin the body around them to hold everything in place as seen in the above picture. Don't worry about having nice seams...it's just going outside!
Once you've pinned everything in place, sew the bottom shut with the triangles sticking out the bottom. After your ghost has been all stitched closed, hand-stitch a loop of yarn onto the top of it's head. Now it's ready to be spray painted...
Spray paint each side of the ghost. I did this in my garage on top of a flattened out card board box :)
After he's dried (mine took about 10 minutes on each side), paint a face...any face at all! If you have kids, you can even let them paint the face.
Now to make the bow! Cut a piece of your orange mesh and a piece of orange tulle (if you have it) in the shape of a rectangle probably about 6" x 10". You can always trim it down later if you think the bow looks too big. Also, cut the ring part off of the spider ring.
To make the bow, take a piece of yarn or string and tie it in the center of the rectangle...double knot it. As you can see from my picture, I felt that my bow was too big, so I trimmed it down. Also, trim off the ends of your yarn.
Use your hot glue gun to attach the bow. Glue the center of the bow to the ghost. Next, also using your hot glue gun, attach the plastic spider to the center of the bow.
And there you have it! I hope that you have enjoyed this project! Have a happy autumn and a Happy Halloween!